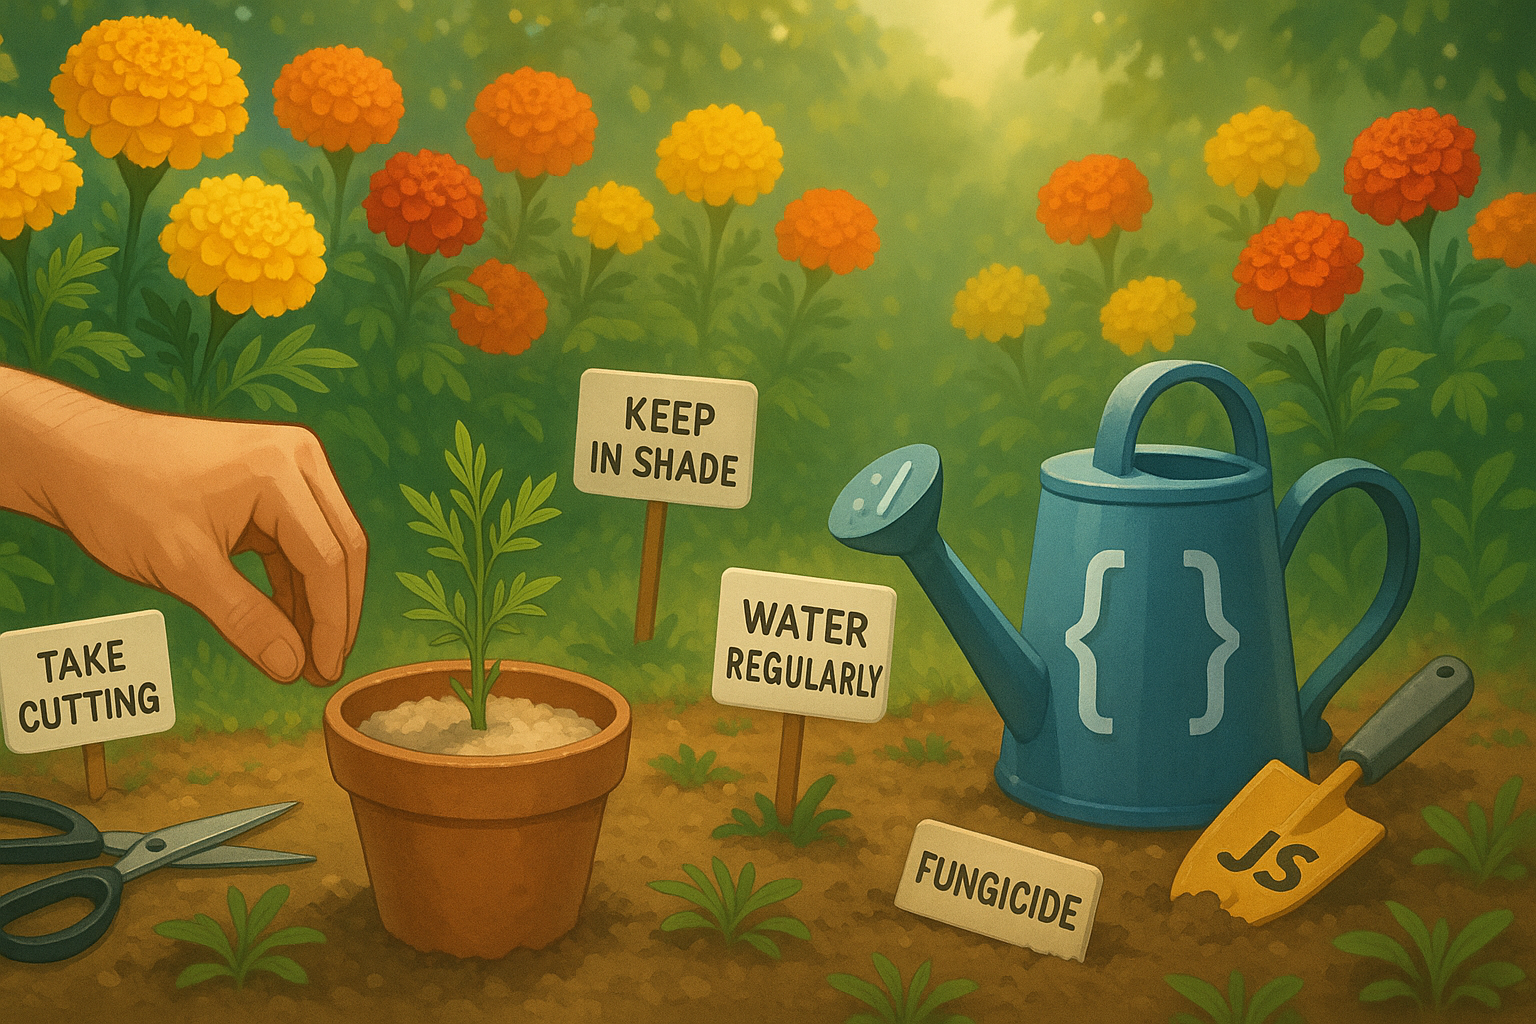
Marigolds are vibrant, low-maintenance flowers known for their cheerful blooms and easy cultivation. Whether you’re a beginner or an expert gardener, propagating marigolds is a rewarding journey that adds charm to your green space. In this guide, we’ll explore various methods of marigold propagation, ideal conditions, and pro tips to ensure blooming success. 🌞
🌿 Introduction to Marigolds
🌸 What is Marigold?
Marigold is a flowering herbaceous plant from the Asteraceae family, popular for its bright blooms and mild fragrance. These beauties grow best in cooler temperatures between 5°C to 25°C, especially during winter months ❄️.
🌈 Popular Marigold Varieties
You can choose from a rainbow of varieties such as:
- 🌼 Inca Marigold – Big, bold globe-shaped blooms
- 🌼 Maya Marigold – Densely petaled, striking colors
- 🌼 Double African Giant – Towering plants with large flowers
- 🌼 French Marigold – Dwarf type with dual-tone petals
With 12+ color options, marigolds bring a burst of sunshine to any garden! 🌞🎨
📏 Understanding Marigold Growth Habit
- 🌿 Plant Type: Herb
- 📏 Height: 12 to 48 inches
- 🪴 Suitable for: Pots, containers, or garden beds
🌱 Methods of Marigold Propagation
Marigolds can be propagated in two main ways:
🌻 1. From Seeds
- Best for beginners 👍
- Germinates in 5–7 days
- Sow directly into garden beds or trays
✂️ 2. From Cuttings
- Quick & efficient 💡
- Ideal for replicating hybrid varieties
- Great for home propagation lovers
📘 Step-by-Step: Marigold Propagation from Cuttings
🧰 Materials You’ll Need
- Healthy marigold plant 🌱
- ✂️ Sharp knife or fresh blade
- Washed river sand
- Small pots or trays
- Garden soil + vermicompost
- Watering can 💧
- Rooting hormone (optional)
- Fungicide (like Mancozeb, Bavistin, or SAAF) 🧪
✂️ Step 1: Select and Prepare the Cutting
- Choose a healthy parent plant 💪
- Use a sterilized knife/blade 🔪
- Cut a 3–6 inch stem from the tip 🌿
- Remove bottom leaves for easier rooting
🏺 Step 2: Prepare the Rooting Medium
- Fill a pot with well-washed river sand 🏖️
- Moisten it until damp, not soggy 💧
- Sand allows fast drainage and root aeration
🌱 Step 3: Planting the Cutting
- Insert the stem 1–2 inches deep into the sand
- Press gently to secure the stem
- 🌟 Optional: Dip the stem in rooting hormone powder to boost root development
🌤️ Step 4: Rooting Environment
- Keep the pot in a semi-shaded area ☂️
- Avoid direct sunlight
- Water frequently so the sand stays moist
⏳ Step 5: Root Development
- Expect roots to develop in 7–10 days
- Lightly tug the stem to check for resistance (a sign of rooting)
🪴 Step 6: Transplanting
- Use a potting mix of garden soil + vermicompost (1:1 ratio) 🧺
- Shift the rooted cutting to a 3-inch pot
- Water thoroughly and place under indirect sunlight 🌤️
🌼 Step 7: Flowering Time
With proper care, your marigold will start flowering in just 60 days! 🗓️🎉
🪴 Optional Method: Propagating in Garden Soil
You may also root your marigold cuttings directly in:
- Garden soil alone
- Or a mix of garden soil + vermicompost
Make sure the medium is well-drained and avoid clay-heavy soil to prevent rot 🚫
🛡️ Fungal Protection Tips
To prevent fungal issues during propagation, spray with any of the following once a week:
- 🌿 Mancozeb
- 🌿 Bavistin
- 🌿 SAAF
Mix according to label instructions 🧪 and spray in early morning or evening 🌅
✅ Quick Tips for Success
💡 Sterilize tools before cutting
💡 Keep cuttings spaced out for airflow
💡 Maintain consistent moisture
💡 Use neem oil to control pests
💡 Label your plants with date & variety tags 🏷️
🌤️ Ideal Growing Conditions
| 🌾 Factor | ✅ Ideal Condition |
|---|---|
| 🌡️ Temperature | 5°C – 25°C |
| ☀️ Sunlight | 5–6 hrs daily (after rooting) |
| 🪴 Soil Type | Well-drained, loamy |
| 💦 Watering | Alternate days or as needed |
| ⏳ Flowering Time | ~60 days from propagation |
📊 Marigold Propagation Flowchart
plaintextCopyEdit🌼 Select healthy plant
    ↓
✂️ Take 3–6 inch cuttings
    ↓
🏺 Prepare river sand medium
    ↓
🌱 Plant cutting (1–2 inch deep)
    ↓
☂️ Place in semi-shade
    ↓
💧 Water regularly (keep moist)
    ↓
⏳ Wait 7–10 days for roots
    ↓
🪴 Transplant in soil + compost
    ↓
☀️ Gradually expose to sunlight
    ↓
🎉 Flowers in 60 days!
🌼 Aftercare Tips for Marigold Plants
- 🌱 Fertilize every 15 days with compost tea or organic liquid fertilizer
- ✂️ Deadhead spent flowers to encourage new blooms
- 🐛 Use neem oil spray for aphids & whiteflies
- 🍂 Add mulch to retain moisture and reduce weeds
🌟 Why Grow Marigolds?
- 🐞 Natural pest repellent
- 🌺 Long blooming season
- 🙏 Used in rituals and festivals
- 🦋 Attracts pollinators
- 🧘 Therapeutic hobby for gardeners
🎯 Conclusion
Propagating marigolds is not just easy — it’s fun, budget-friendly, and incredibly satisfying. Whether from seeds or cuttings, you’ll enjoy vibrant blooms within two months. Follow this complete guide, use simple tools, and create a garden full of sunshine-colored marigolds 🌼🌿🌞


Leave a Reply